How to solder a connection in a motorcycle harness?
Dec 25, 2025
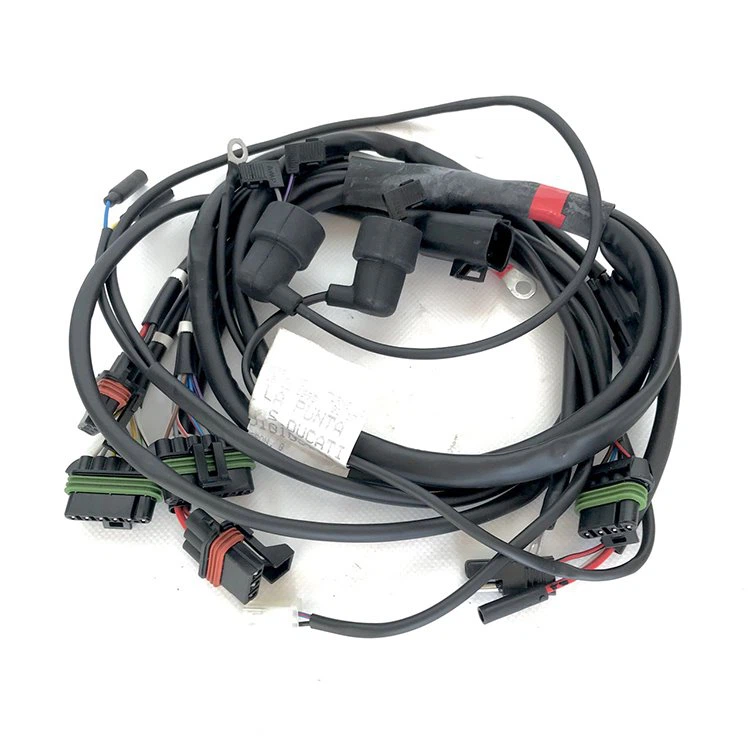
Hey there, fellow motorcycle enthusiasts! I'm a supplier of Motorcycle Harness [link: "/recreational-wiring-harness/motorcycle-wiring-harness/motorcycle-harness.html"], and I've been in this industry for years. Today, I'm gonna share with you how to solder a connection in a motorcycle harness. Whether you're a DIY guy looking to fix your own ride or a seasoned mechanic, these tips will surely come in handy.
Why Solder?
Before we dive into the actual process, let's talk about why soldering is so important. A soldered connection in a motorcycle harness ensures a stable electrical flow. You see, motorcycles are constantly vibrating, and a loose or poorly connected wire can lead to all sorts of problems, from a flickering headlight to a complete electrical failure. Soldering creates a strong, permanent bond between the wires, which can withstand the rigors of the road.
Tools You'll Need
- Soldering Iron: You'll want a good-quality soldering iron with adjustable temperature. A 30 - 40 watt iron is usually sufficient for most motorcycle harness work.
- Solder: Use a lead - free rosin - core solder with a diameter of around 0.032 inches. The rosin acts as a flux, which helps the solder to flow and bond properly.
- Wire Strippers: To expose the bare wire for soldering.
- Heat Shrink Tubing: This will insulate the soldered connection and protect it from moisture and dirt.
- Flux Pen: If you want to add some extra flux for a better - quality solder joint.
- Helping Hands (Optional): These can hold the wires in place while you solder, making the process a lot easier.
- Sharp Knife or Rasp: For cleaning the wire ends, especially if they're corroded.
Preparing the Wires
- Identify the Wires: First things first, you need to figure out which wires you're going to solder. In a motorcycle harness, there are often many different colored wires, each with a specific function. Make sure you're connecting the right ones. You can refer to the motorcycle's wiring diagram if you're not sure.
- Strip the Wires: Use the wire strippers to remove about 1/4 to 3/8 inches of the insulation from the end of each wire. Be careful not to nick the wire strands while stripping.
- Clean the Wires: If the wire ends are dirty or corroded, use a sharp knife or a rasp to clean them. This will ensure a good solder connection.
- Twist the Strands: Once the wires are clean, twist the exposed wire strands together. This makes it easier to solder and also provides a stronger mechanical connection.
Setting Up the Soldering Iron
- Plug In and Heat Up: Plug in your soldering iron and let it heat up. Most soldering irons take 2 - 3 minutes to reach the right temperature.
- Adjust the Temperature: Set the temperature according to the type of solder you're using. For lead - free solder, a temperature between 600°F and 700°F is usually good.
- Tin the Tip: While the iron is heating up, apply a small amount of solder to the tip. This is called "tinning" the tip and helps the heat transfer better.
Soldering the Connection
- Position the Wires: Use the helping hands or hold the wires in place with a pair of pliers. Make sure the twisted ends of the wires are touching each other.
- Apply Flux (Optional): If you're using a flux pen, apply a small amount of flux to the wire ends. This helps the solder flow more easily.
- Heat the Wires: Place the tip of the soldering iron on the twisted wire ends. Hold it there for a few seconds until the wires are hot enough. You want to heat the wires, not the solder directly.
- Add the Solder: Once the wires are hot, touch the solder to the junction of the wires and the soldering iron. The solder should melt and flow around the wires. Don't add too much solder; just enough to cover the wire strands and create a smooth, shiny connection.
- Remove the Solder and Iron: Once the solder has flowed properly, remove the solder from the joint first, and then the soldering iron. Let the joint cool down completely before moving it.
Insulating the Connection
- Cut the Heat Shrink Tubing: Cut a piece of heat shrink tubing that is a little longer than the soldered joint.
- Slide the Tubing: Slide the heat shrink tubing over one of the wires before you solder. After the joint has cooled, position the tubing over the soldered connection.
- Shrink the Tubing: Use a heat gun or a lighter to heat the tubing. The tubing will shrink and form a tight seal around the connection, protecting it from moisture and electrical shorts.
Testing the Connection
Once you've soldered and insulated the connection, it's important to test it to make sure it's working properly. You can use a multimeter to check for continuity. If the connection is good, the multimeter should show a low resistance reading. You can also start the motorcycle and check if all the electrical components are working as they should.

Troubleshooting
- Cold Solder Joint: If the solder joint looks dull and grainy, it's probably a cold solder joint. This means the wires weren't heated enough, and the solder didn't flow properly. You'll need to reheat the joint and add a little more solder.
- Excess Solder: Too much solder can cause a short circuit. If you have excess solder, you can use a solder sucker or a desoldering braid to remove it.
- Stray Strands: Make sure there are no stray wire strands sticking out of the soldered joint. These can cause a short circuit if they come into contact with other wires.
Conclusion
So, there you have it! That's how you solder a connection in a motorcycle harness. It might seem a bit intimidating at first, but with a little practice, you'll be a pro in no time. And remember, if you ever need a new Wiring Harness for Ducati [link: "/recreational-wiring-harness/motorcycle-wiring-harness/wiring-harness-for-ducati.html"] or a Harness Kit For Motorcycles [link: "/recreational-wiring-harness/motorcycle-wiring-harness/harness-kit-for-motorcycles.html"], I'm here as your reliable supplier.
If you're in the market for high - quality motorcycle harnesses, don't hesitate to reach out. We can discuss your specific needs and get you the best product for your motorcycle. Whether it's a custom - made harness or a standard replacement, we've got you covered.
References
- Motorcycle Service Manuals
- Soldering Guides from Electronics Manufacturers