What are the steps to add additional electrical components to a motorcycle harness?
Jul 23, 2025
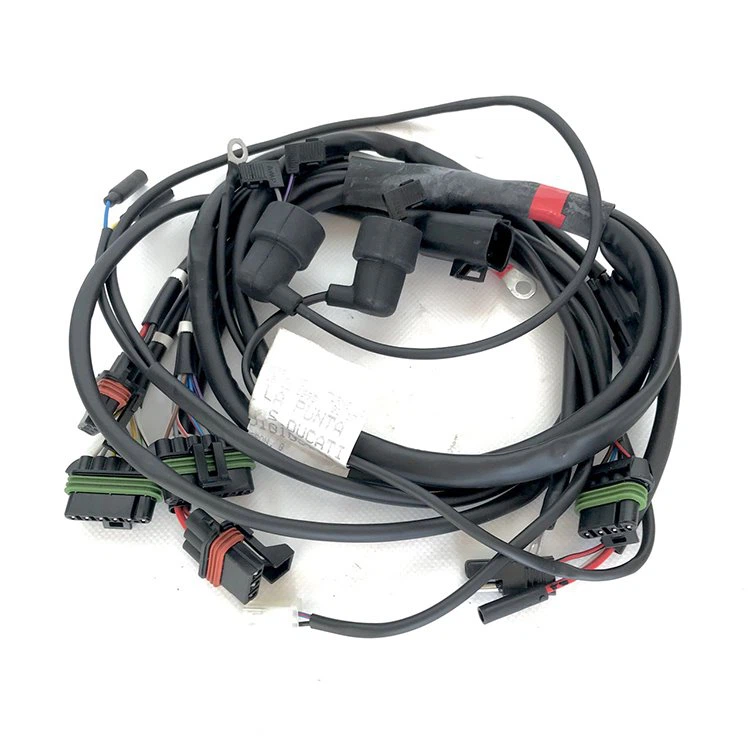
Adding additional electrical components to a motorcycle harness can seem like a daunting task, but with the right steps and a bit of know-how, it's totally doable. As a Motorcycle Harness supplier, I've seen firsthand how a well - done addition can enhance a bike's functionality and performance. So, let's dive into the steps to add those extra electrical components to your motorcycle harness.
Step 1: Plan Your Addition
Before you start cutting wires or installing new parts, you need to have a clear plan. First, figure out what electrical components you want to add. Are you looking to install a new GPS system, some fancy LED lights, or maybe a heated seat? Once you've decided on the components, you need to understand their power requirements. Check the specifications of each component to see how much voltage and current they need. This information is crucial because it will help you determine if your motorcycle's electrical system can handle the additional load.

You also need to think about where you're going to mount the new components. Make sure there's enough space on your bike and that the location is easily accessible for wiring. Sketch out a rough diagram of your motorcycle and mark the spots where you'll place the components and run the wires. This will give you a visual guide and help you avoid any potential issues down the line.
Step 2: Gather the Necessary Tools and Materials
Once you have a plan, it's time to gather the tools and materials you'll need. You'll definitely need a good set of wire cutters and strippers. These will be used to cut and prepare the wires for connection. A soldering iron and solder are also essential for making secure electrical connections. Heat shrink tubing is another must - have. It will protect your soldered connections from moisture and short circuits.
You'll also need electrical tape to wrap any exposed wires and prevent them from coming into contact with other metal parts of the bike. In addition, you'll need the appropriate connectors for your new components. There are different types of connectors, such as bullet connectors, spade connectors, and ring terminals. Make sure you choose the right ones for your specific components.
If you're adding a significant amount of electrical load, you might need to install a new fuse or a relay. Fuses protect your electrical system from overloading, and relays can help control the flow of electricity to your new components.
Step 3: Disconnect the Battery
Safety first! Before you start working on your motorcycle harness, you need to disconnect the battery. This will prevent any accidental short circuits or electrical shocks. Locate the battery on your bike, usually under the seat or in a compartment. Use a wrench to loosen the negative terminal first, followed by the positive terminal. Once the terminals are loose, carefully remove the battery cables and set them aside.
Step 4: Access the Motorcycle Harness
To add new electrical components, you'll need to access the existing motorcycle harness. The harness is usually hidden under the fairings, tank, or other parts of the bike. Remove the necessary panels or covers to get to the harness. Be careful when removing these parts, as some may be fragile or have clips that can break easily.
Once you have access to the harness, take a good look at it. Identify the main power wires, ground wires, and any other wires that might be relevant to your new components. You can use a wiring diagram specific to your motorcycle model to help you with this. If you don't have a wiring diagram, you can usually find one online or at your local motorcycle dealership.
Step 5: Add the New Wires
Now it's time to start adding the new wires for your components. First, measure and cut the wires to the appropriate length. Make sure you leave some extra length to allow for any adjustments or future changes. Strip the ends of the wires using your wire strippers, exposing about 1/4 to 1/2 inch of bare wire.
If you're connecting the new wires to the existing harness, you can use a variety of methods. One common method is to use a tap connector. Tap connectors allow you to connect a new wire to an existing wire without cutting it. Simply place the tap connector over the existing wire, insert the new wire into the connector, and tighten it down.
Another method is to solder the wires together. This is a more permanent and secure connection. Heat up your soldering iron, apply a small amount of solder to the tip, and then touch the tip to the bare wires. As the solder melts, it will flow onto the wires, creating a strong bond. After soldering, cover the connection with heat shrink tubing and use a heat gun to shrink it in place.
Step 6: Connect the New Components
Once you've added the new wires to the harness, it's time to connect your new electrical components. Follow the instructions that came with each component carefully. Connect the power wires to the appropriate power source in the harness, and connect the ground wires to a good ground point on the bike.
For example, if you're installing a new LED light, connect the positive wire of the light to a power source that has the correct voltage. You can usually tap into an existing power wire that is always hot or one that is only hot when the ignition is on, depending on your preference. Connect the negative wire of the light to a ground point, such as a bolt on the frame.
Step 7: Install Fuses and Relays (if needed)
If your new components draw a significant amount of current, you may need to install a new fuse or a relay. Fuses are rated in amps, and you need to choose a fuse with a rating that is appropriate for the load of your new components. Install the fuse in a fuse holder and connect it in series with the power wire of your new component.
Relays are used to control the flow of electricity to your components. They can be used to switch high - current loads with a low - current signal. Install the relay according to the manufacturer's instructions, usually near the component or in a convenient location in the harness.
Step 8: Test the New Components
After you've connected all the new components, it's time to test them. Reconnect the battery by first attaching the positive terminal, followed by the negative terminal. Turn on the ignition and check if your new components are working properly. If any of the components don't work, double - check your connections and make sure all the wires are properly connected and insulated.
If you notice any issues, such as a blown fuse or a component not functioning correctly, go back and troubleshoot. Check for loose connections, short circuits, or incorrect wiring. It's better to fix any problems now than to have them cause issues later on.
Step 9: Reassemble the Bike
Once you've tested all the new components and everything is working fine, it's time to reassemble the bike. Put back all the panels, covers, and parts that you removed earlier. Make sure everything is properly aligned and secured.
Step 10: Enjoy Your Upgraded Motorcycle
Congratulations! You've successfully added additional electrical components to your motorcycle harness. Now you can enjoy the enhanced functionality and performance of your bike. Whether it's a new GPS system to help you navigate or some cool LED lights to make your bike stand out, you've made a great improvement.
As a Motorcycle Harness supplier, I can offer you a wide range of high - quality harnesses and components. If you're looking for a Wiring Harness for Ducati, a Dirt Bike Wiring Harness, or just a general Motorcycle Harness, I've got you covered. If you have any questions or need help with your motorcycle wiring project, don't hesitate to reach out. We can discuss your specific needs and find the best solutions for your bike. Let's work together to make your motorcycle even better!
References
- Motorcycle Electrical Systems Manuals
- Online Motorcycle Forums
- Manufacturer's Instructions for Electrical Components